Scheduling Conference Rooms
Conference Room Scheduling Procedure
Important: Always schedule from your own personal calendar (not from the Conference Room calendar).
Important: Drawing your attention to Step 8, if you do not list the Conference Room as a Resource, it will not reserve the room and other meetings can be booked over yours.
1. Open your personal calendar in Outlook
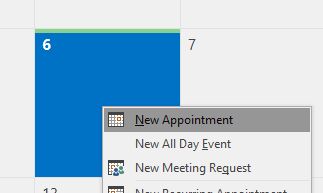
2. Right click on day desired, when the dialog box opens Select NEW APPOINTMENT
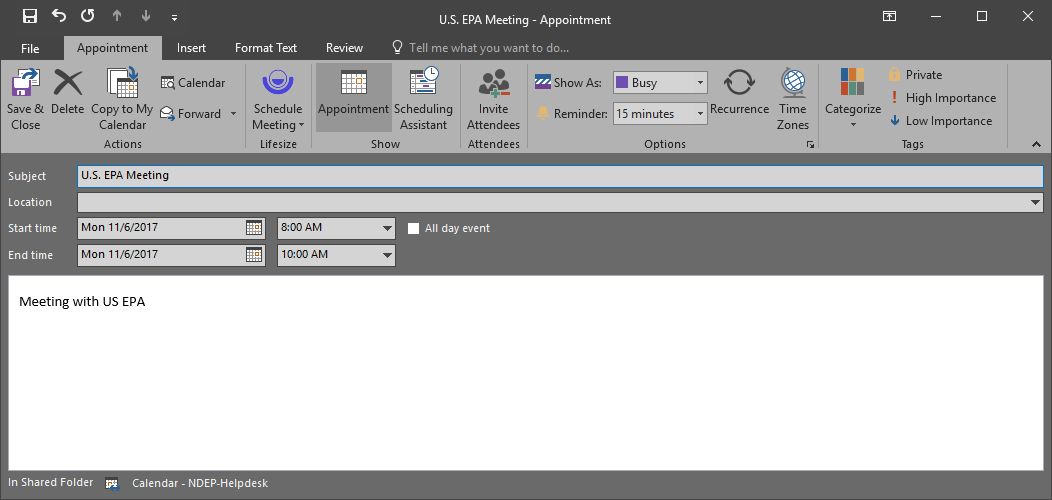
3. Type in meeting description in subject line
4. Click on START and END TIMES desired (NOT "All day event" as this will not reserve the room)
5. Click on INVITE ATTENDEES button (top menu bar)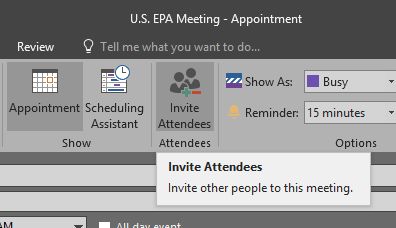
6. Click on TO… button
7. Scroll Down to "Conf Rm" and select the room you want to schedule (Look in the Global Address List if the conference room is not in your area)
8. Schedule by clicking RESOURCES, which will add your selected Conference Room in that field.
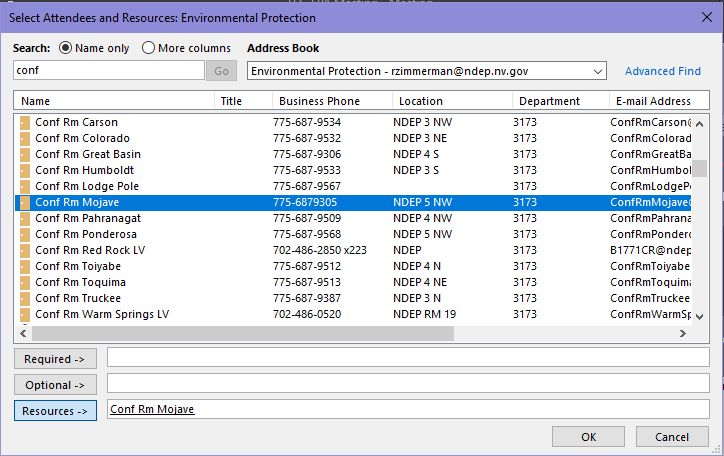
9. Add other desired attendees** in the REQUIRED field.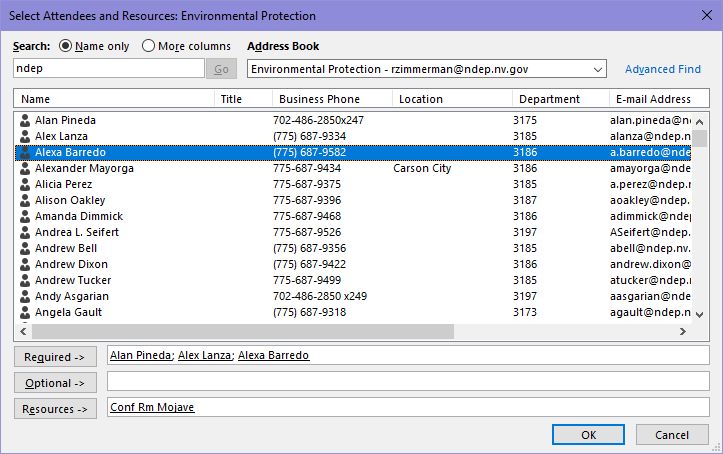
10. Click OK
11. Important: If you are inviting external attendees to participate in person in any Bryan Building conference room, also invite "DCNR Bryan Building Public Meetings". This will copy your meeting to a calendar that the lobby staff can review to direct your attendees to the correct location. “External attendees” includes anyone who does not have their own badge to enter the building and access the elevators.

12. Click SEND
13. You should receive an email showing the successful scheduling
14. Verify that meeting now appears on Conference Room calendar
**you may check availability of attendees once they have been listed in the "To" field by clicking on "Scheduling Assistant". This will allow you to see on the attendees calendars whether or not they are available for your meeting time.